
 By Michael James Adams
A few weeks back, we took some time to fully explain the electronic innerworkings of Fender’s paradoxically well-loved and oft-maligned models, the Jazzmaster and Jaguar. For many players, the tonal options available on these guitars is a breath of fresh air; for others, the switching becomes an exercise in futility, leaving them to wonder how to just turn on the bridge pickup. Hopefully we helped!
In today’s column, we’re going to dive into what be the most misunderstood and subsequently damning design element on these amazing guitars: the bridge.
It’s a common occurrence for players who are used to Strats and Teles or Les Pauls to get the Offset itch and pick up a Jazzmaster or Jaguar and find that it doesn’t play quite the way they expected: strings will slip out of their grooves with moderate pick attack, the bridge sways back and forth with vibrato action, and sympathetic ‘ghost’ notes will ring out from behind the bridge, prompting many stymied players to install a Buzzstop. Please, don’t do that just yet – I’m begging you to get to know your seemingly unwieldy friend before you do something rash.
Shim Shenanigans
Conventional guitar wisdom tells us that shims are bad. They’re tone-sucking, sustain-killing, useless pieces of paper that shouldn’t come anywhere near a neck pocket, right? Well, about that…
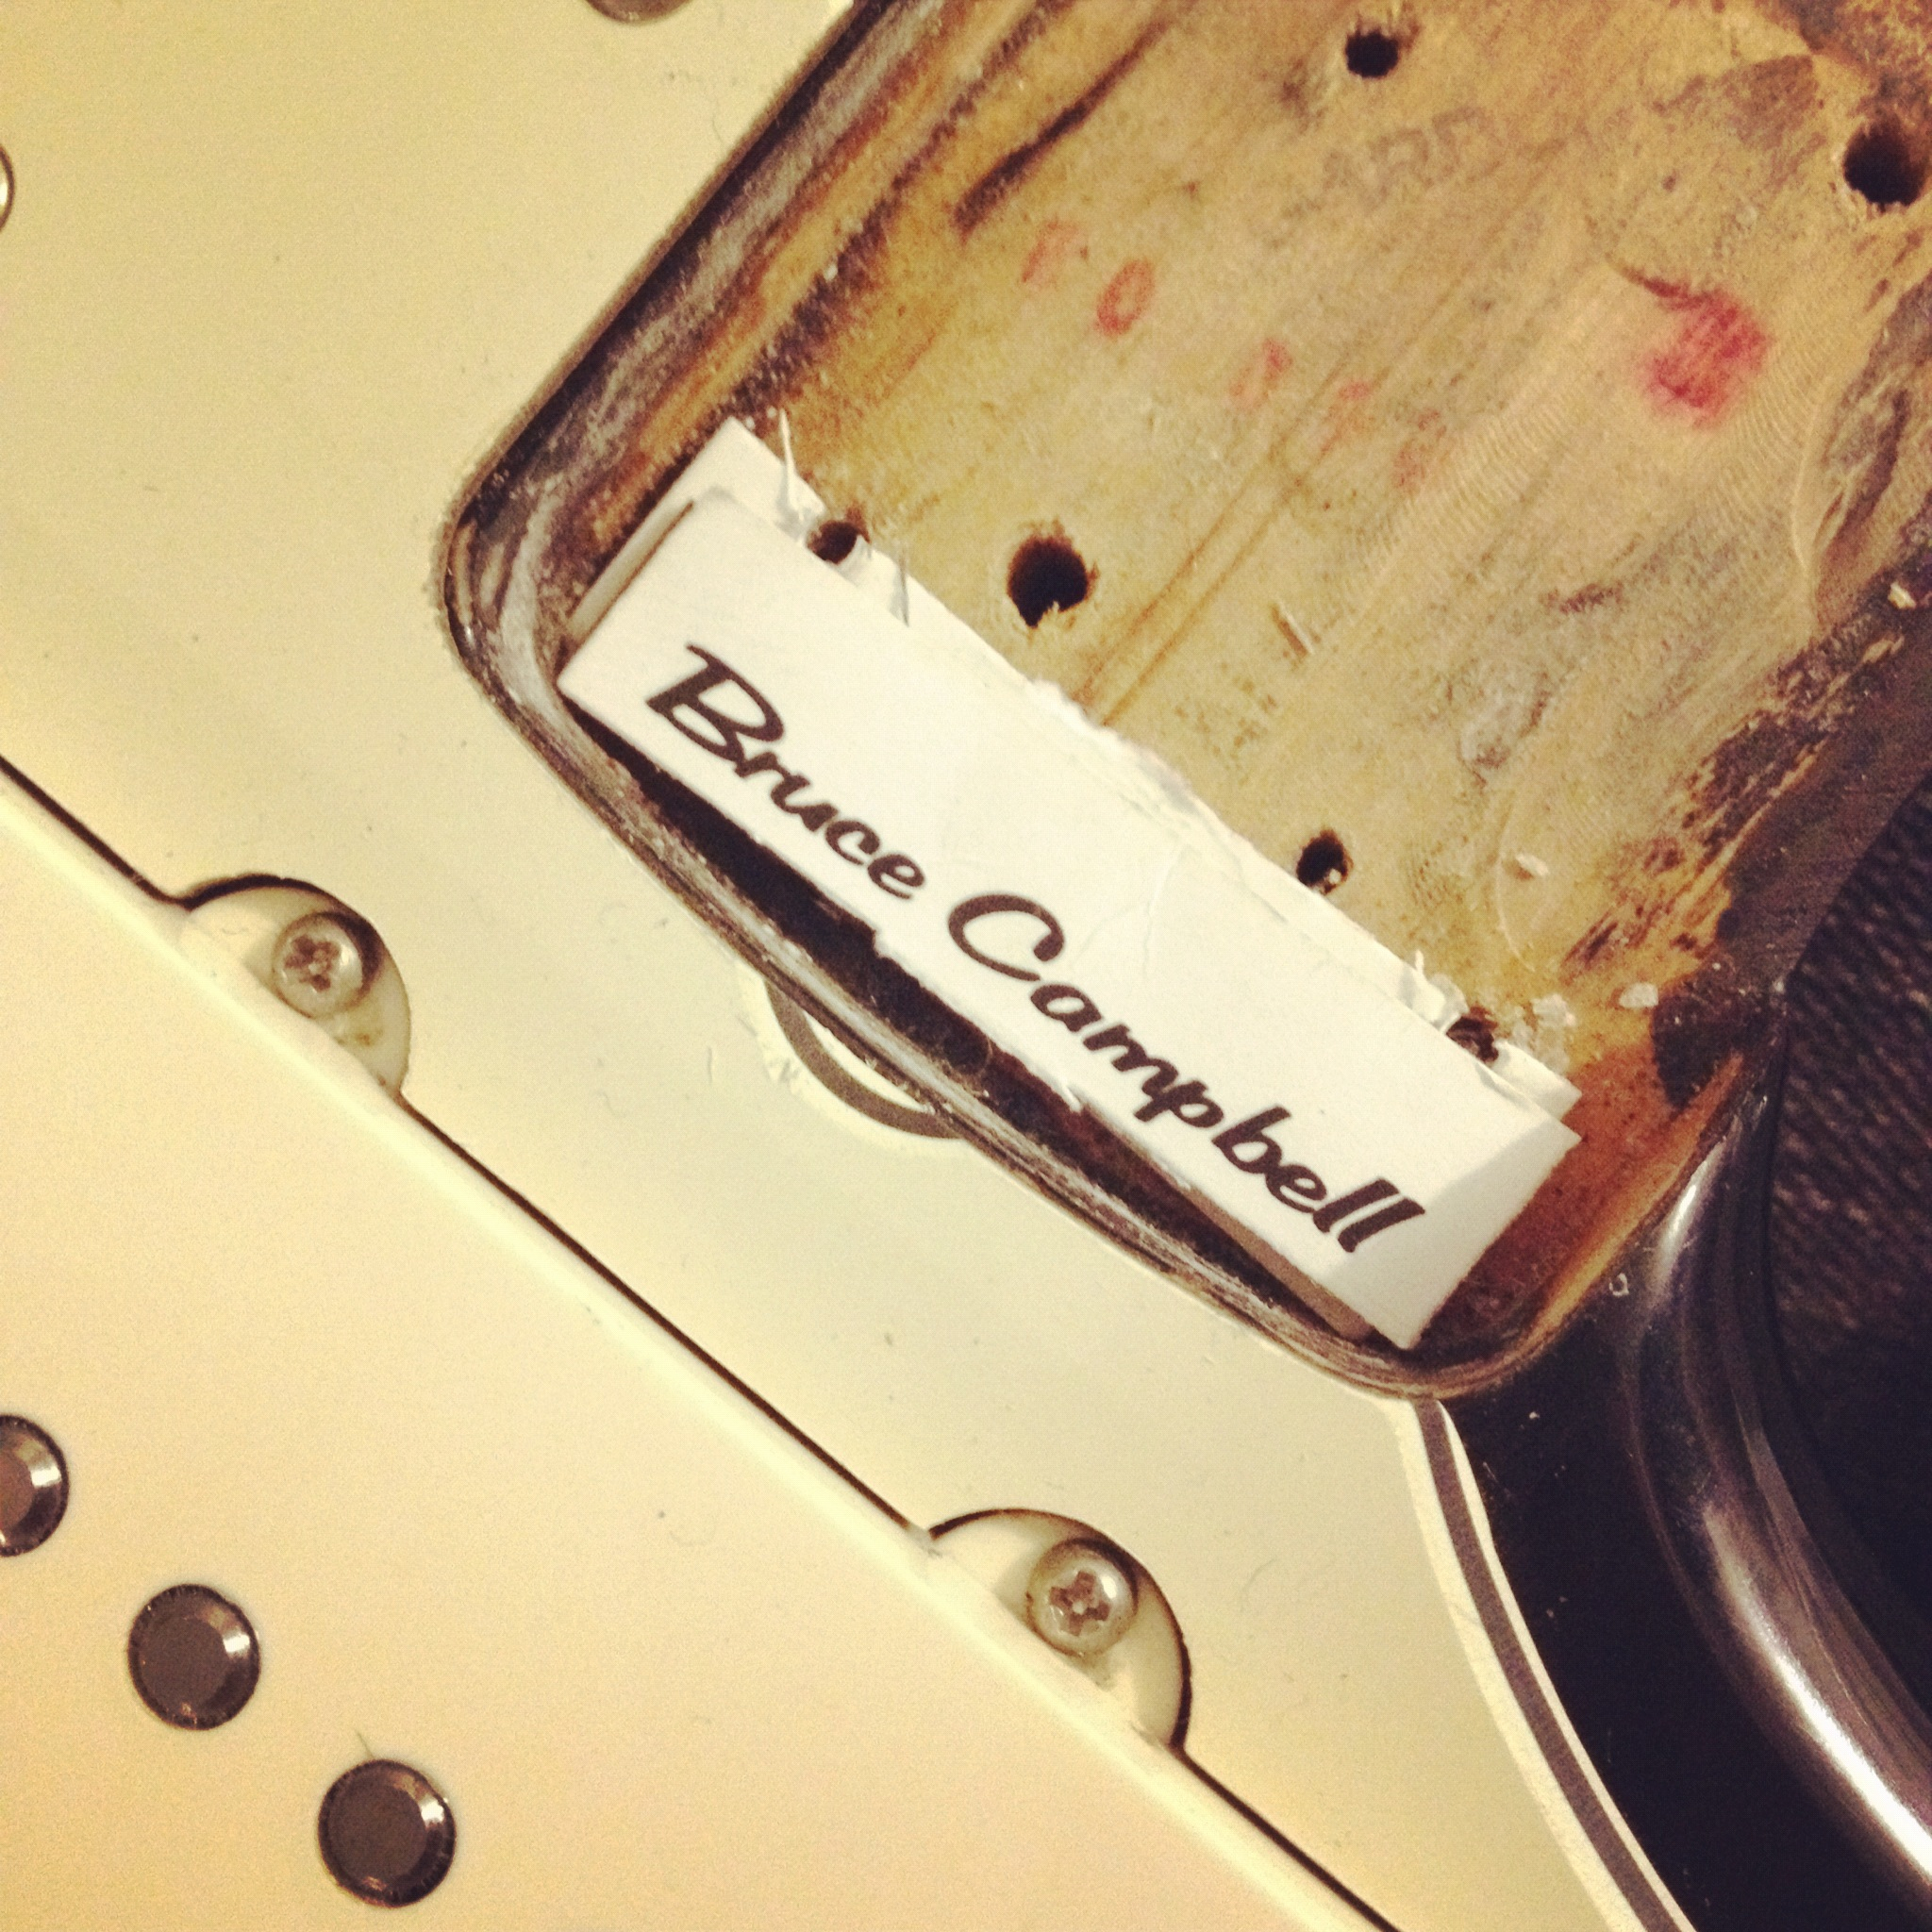
That’s A Bruce Campbell, not THE Bruce Campbell. Unfortunately.
Most of the vintage Fender guitars we love came from the factory with at least one shim installed, and I’ve seen vintage guitars with four or more original shims! Telecasters, for example, might have a shim in the front edge of the neck pocket so that when the guitar is strung, the strings sit closer to the top of the ashtray bridge instead of down in the middle, which isn’t exactly the most comfortable place for picking. Also, the height adjustment screws on the brass bridge saddles could be longer than necessary, which means sharp pieces of metal digging into your picking hand. Not fun.
Many players operate under the belief that a shim will kill their tone, and to an extent they have a point. Obviously, for maximum sustain and tonal transfer, it makes sense to have a tight neck pocket with full wood-on-wood contact. Here’s the thing: tone is subjective, and the vast majority of us won’t be able to hear the difference between a shimmed and un-shimmed guitar. Add to that the fact that many of the old-school tones we’re all chasing were created with shimmed guitars, and the argument gets even more murky. And, unlike Strats and Teles, Jazzmasters and Jaguars were actually designed with shims in mind!
Break Angle Benefits
You see, Leo Fender knew that his floating bridge design needed a certain amount of downward force to work properly, so he used shims in the leading edge of the neck pocket to adjust the angle of the neck, causing the strings to pass over the bridge at a sharper angle. This is called the break angle.
The further back he tilted the neck, the bridge would have to be set higher to achieve playable action, and thus, more downward force on the bridge. More downward force on the bridge also means greater tonal transfer via the contact between the bridge and its thimbles, which in turn transfer that vibration to the body, and then who the hell really knows how much sustain and resonance you’re losing or gaining?! It boggles the mind.
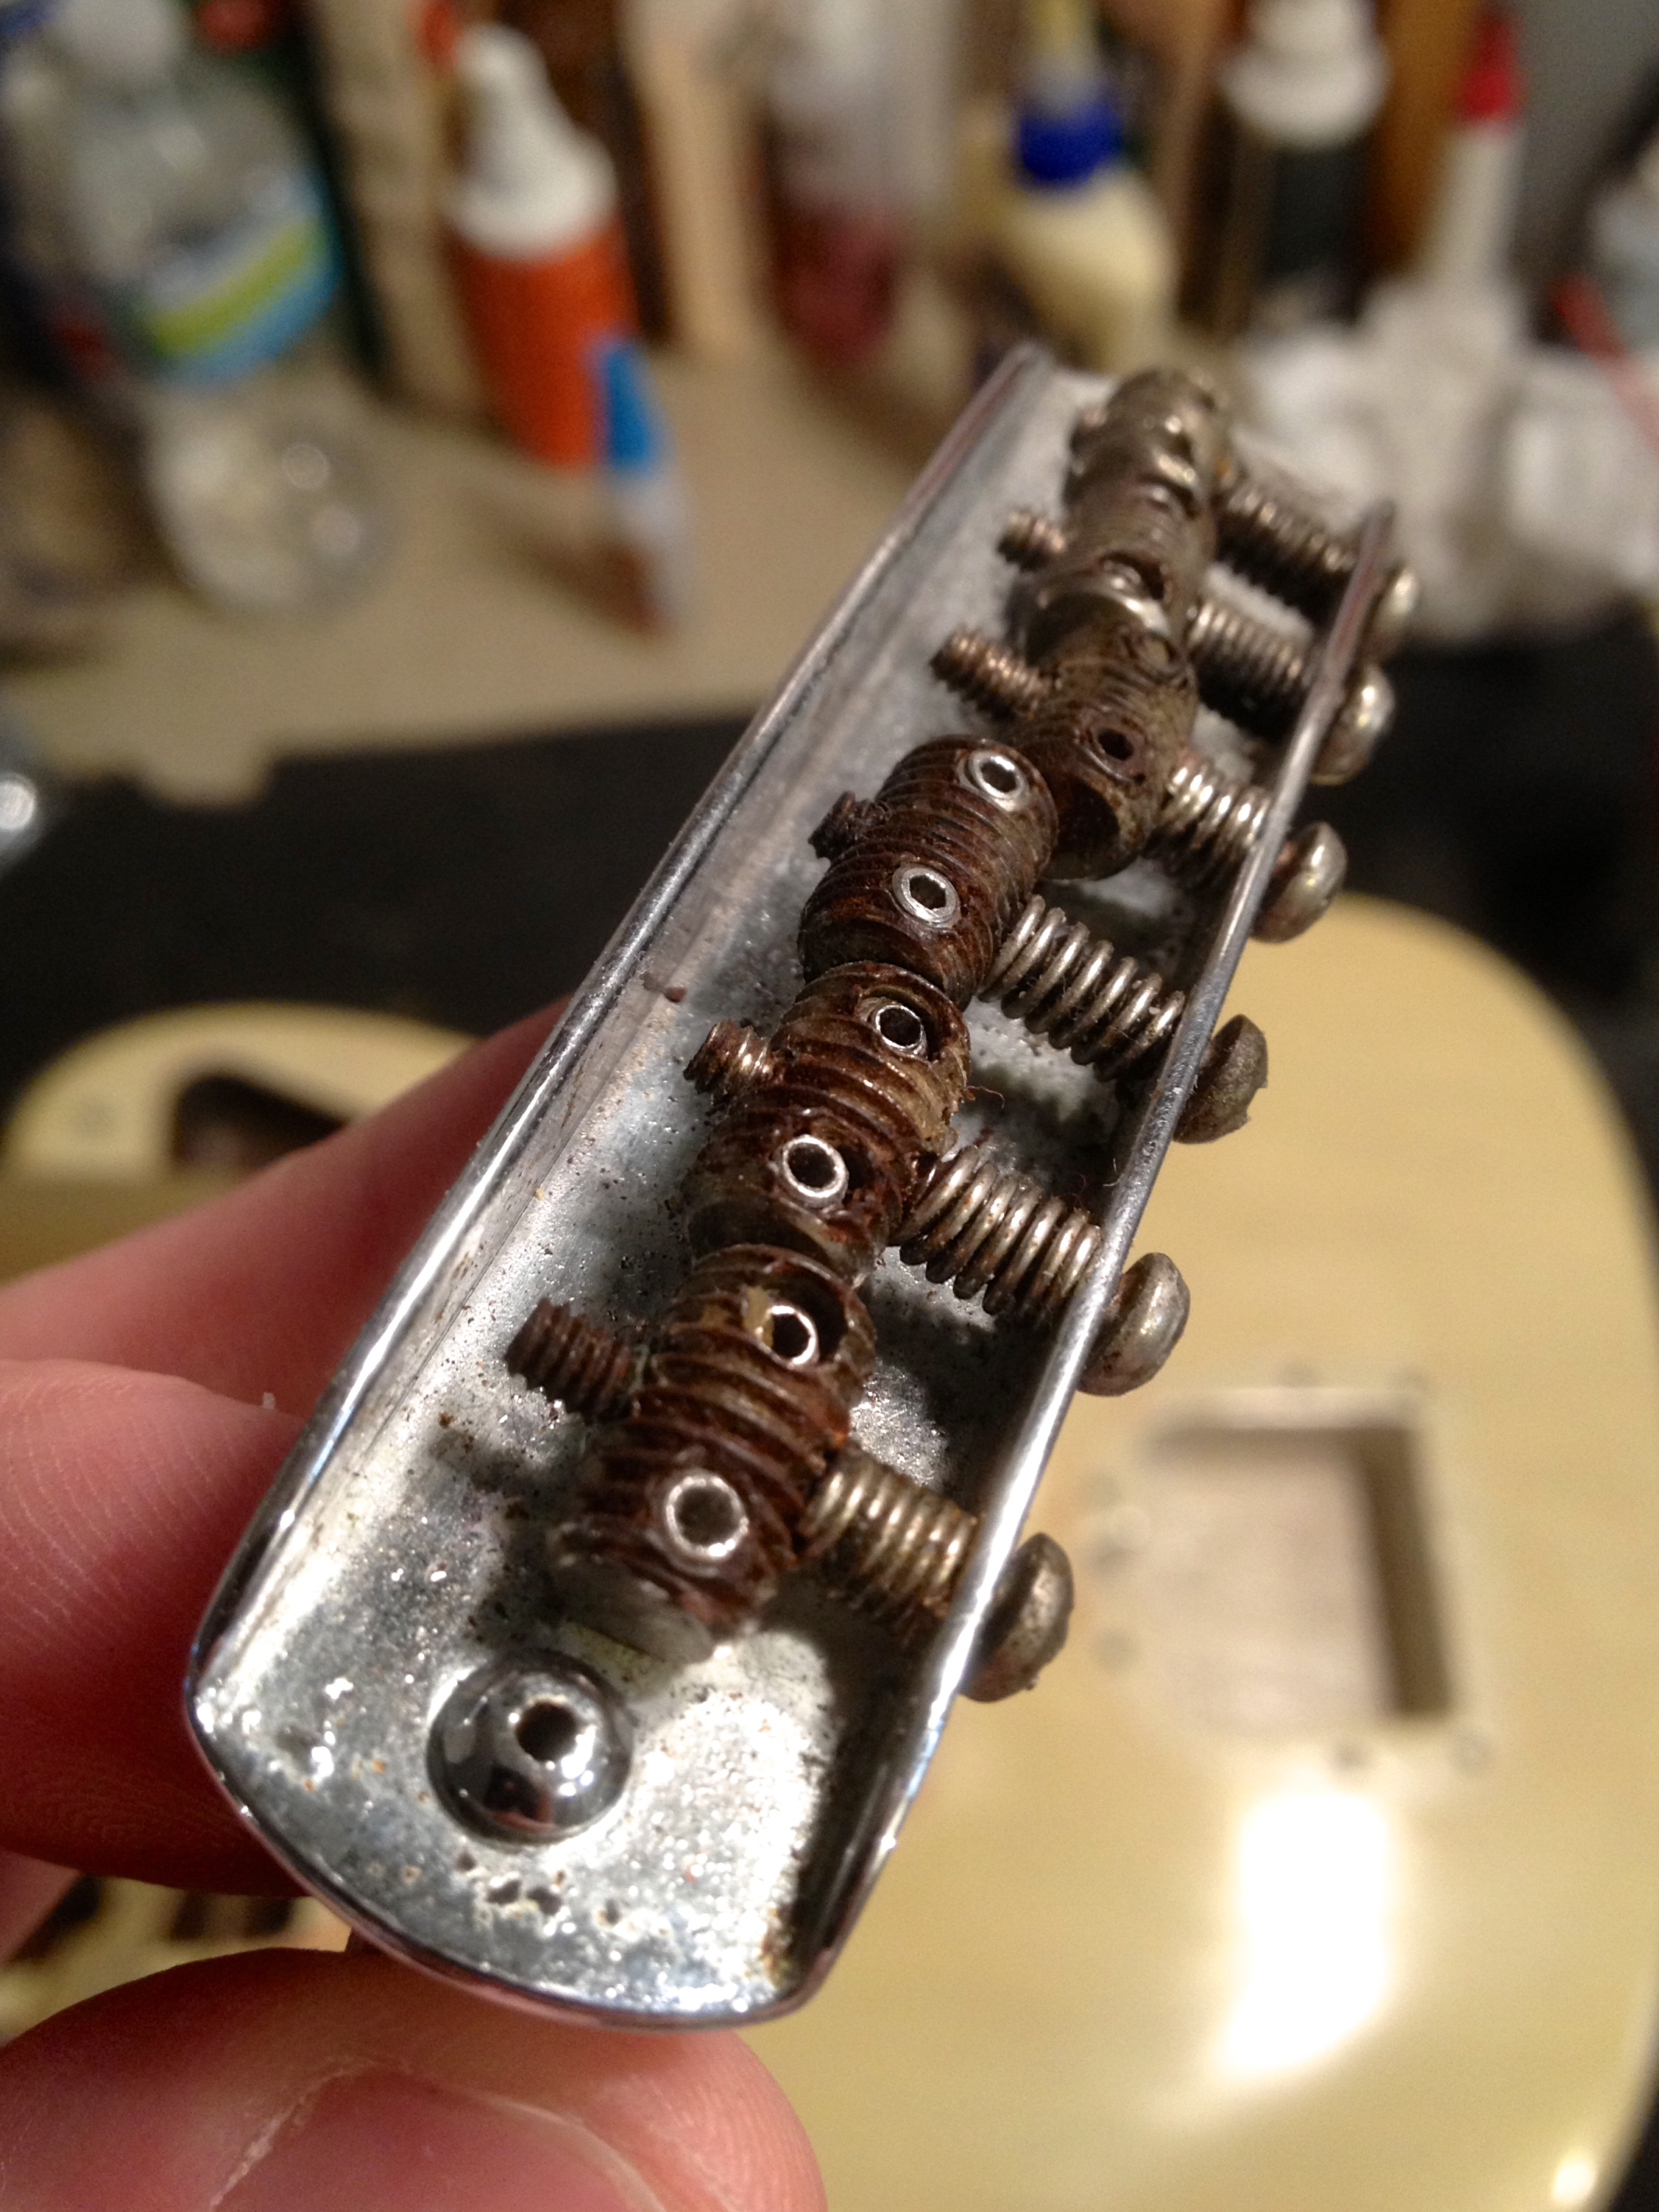
When players complain about their strings slipping out of the tiny grooves on their saddles, more often than not the problem isn’t the saddle, it’s the aforementioned break angle. A sharper break angle means more downward force on the bridge, which in turn helps to keep the strings seated! One other solution is to deepen the grooves with a file, which is a fine solution that I’ve had to use a few times. It’s not my first choice fix, but with some guitars with worn or import bridges, there’s not much else you can do, short of replacing the bridge. More on that later.
Players will also cite excessive mechanical buzz from their bridges as a source of frustration, but again, I point to neck/break angle as the first solution. Most of the time, the bridge buzzes because of a weak break angle and thus, less pressure, which means the saddles themselves aren’t tightly seated on the bridge plate. Tilt that neck back and voila, the buzz disappears. At least, it usually does; new bridges that haven’t been played-in will often make noise because they don’t have years of oxidation helping to tighten things up. In that case, either sweat a lot or dab some blue Loc-Tite* on the saddle screws, which will not only diminish rattle but also ensure that screws don’t turn when you don’t want them to.
The other solution to this problem is the Buzz-Stop, an add-on unit that screws into the trem plate and forces the strings down toward the body. While this solution certainly works, it also kills the vibe of having a Jazzmaster or Jaguar; the strings behind the bridge are deadened – a huge part of what makes these guitars so fun! – and the vibrato has another point of friction to contend with, making it work less efficiently. It also makes the guitar feel different in terms of playability, but feel is subjective.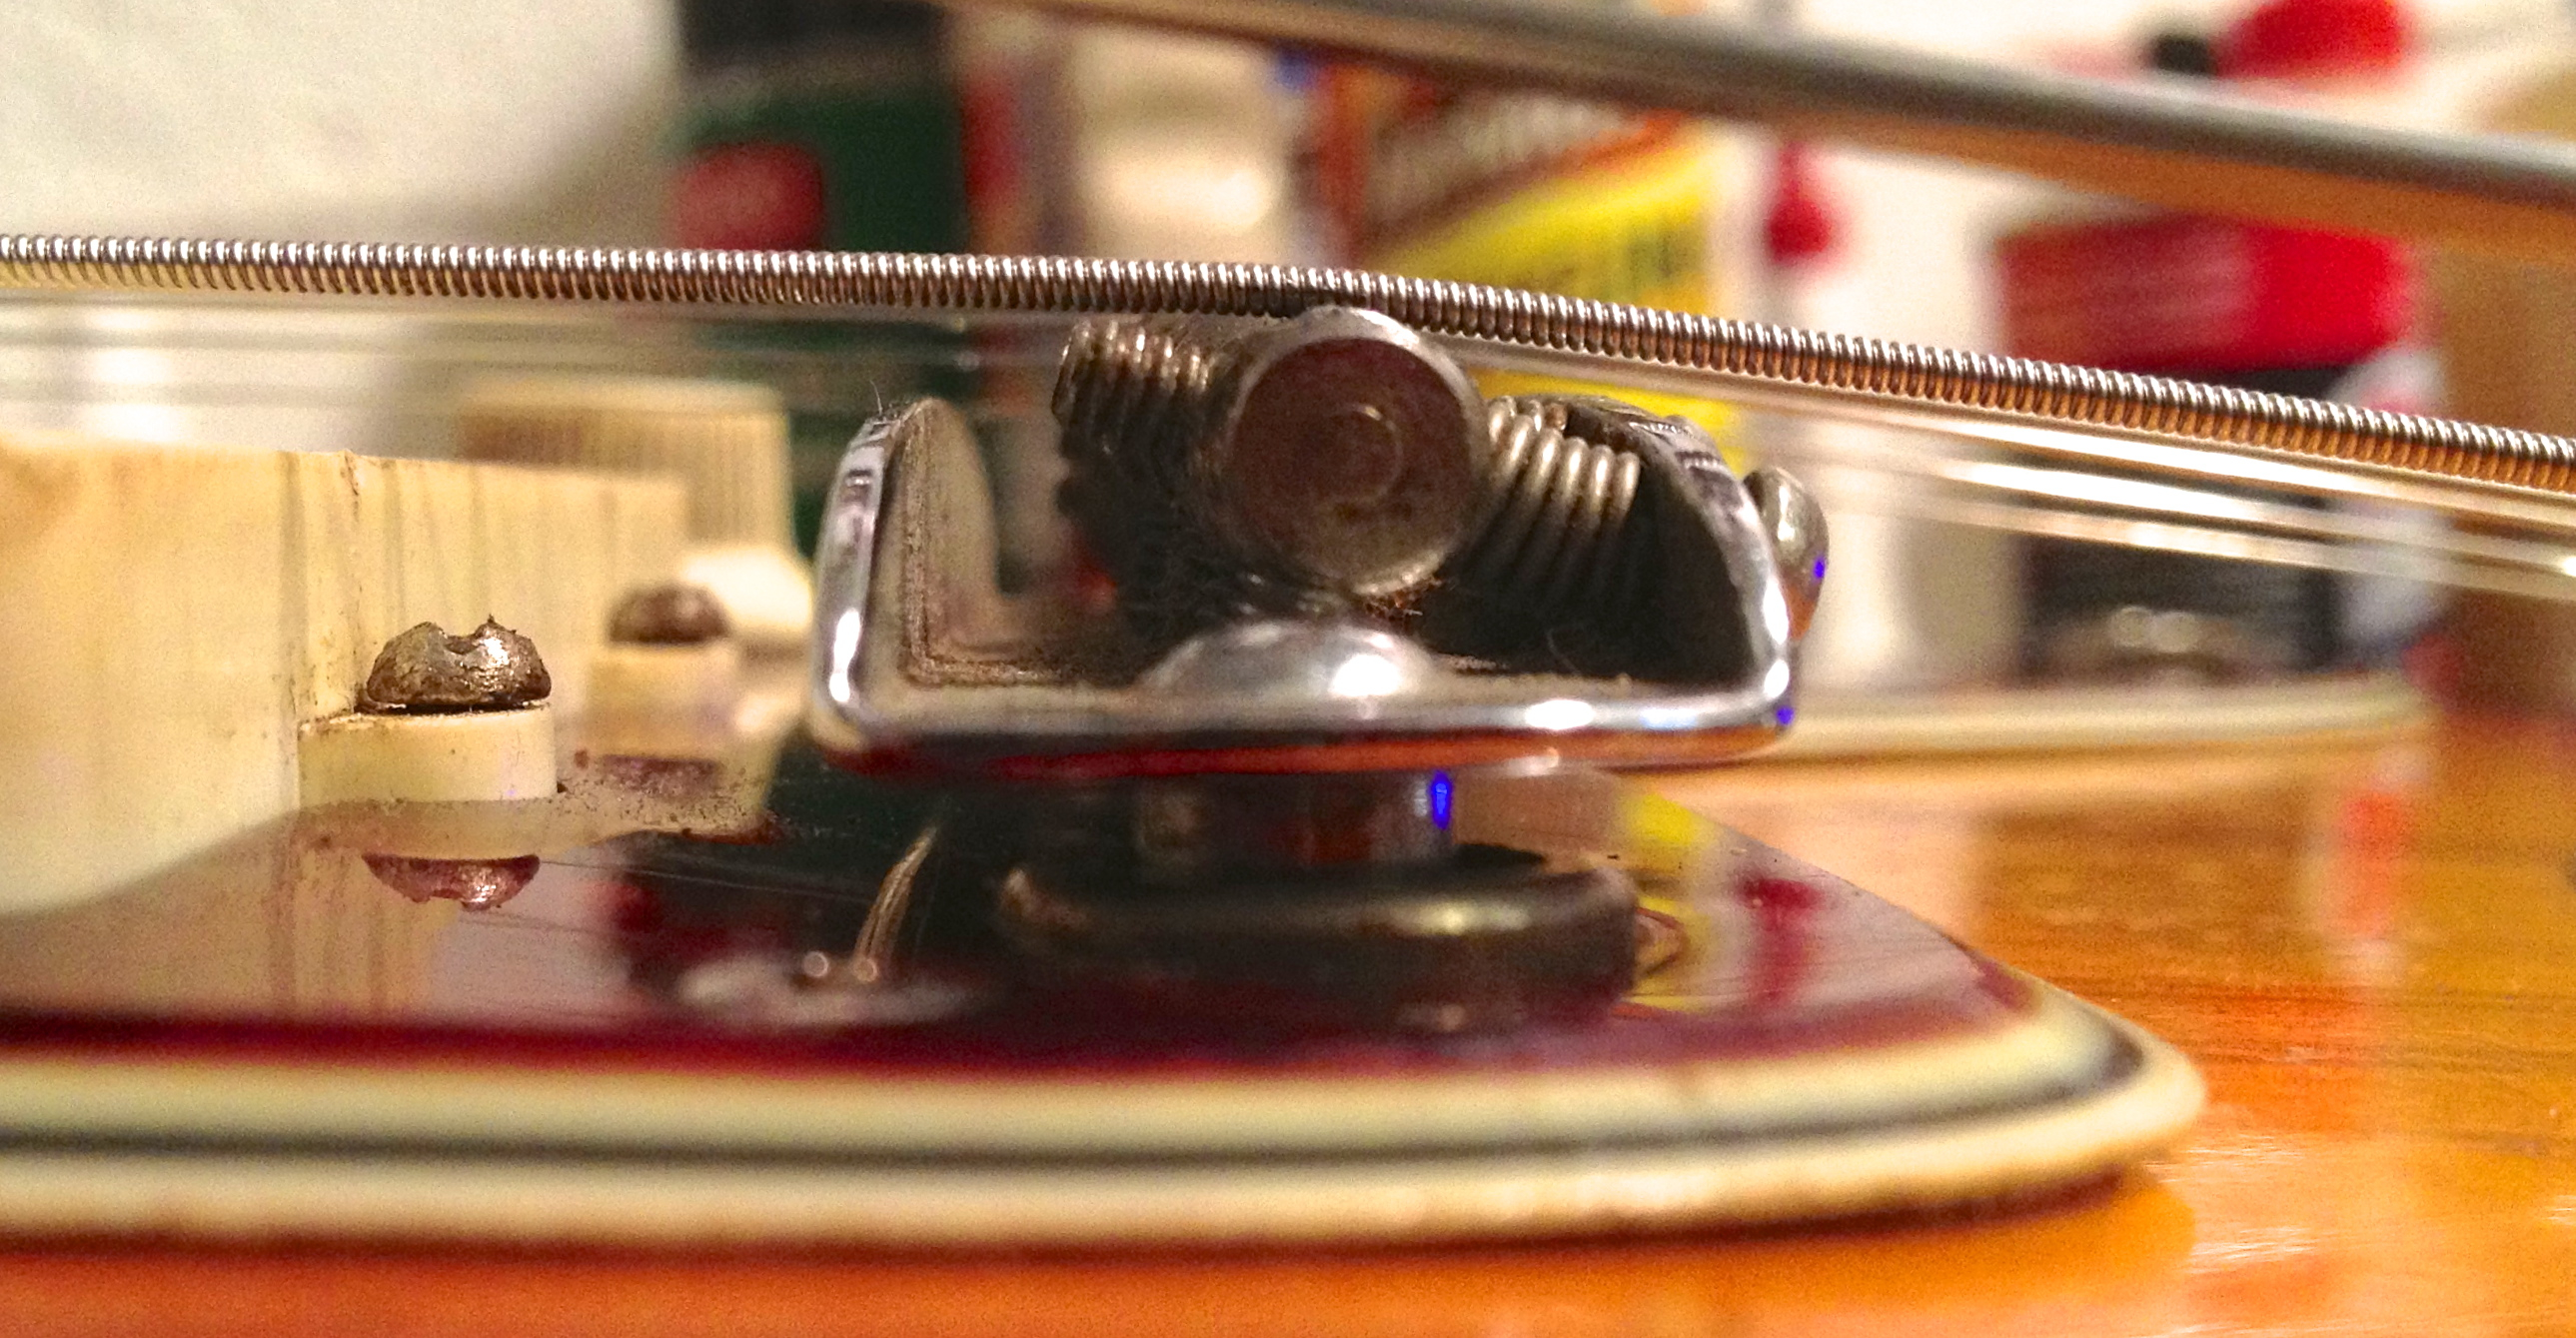
Rock. YEAH. Ing. YEAH. Bridge. YEAH. YEAH. YEAH!
For the Jazzmaster, Leo Fender designed a new “floating” vibrato system which revolved around a bridge that rocks back and forth as the whammy bar is actuated and promised unparalleled control and flutter as well as better tuning stability. But if this system was supposed to be so great, why does it seem like everyone complains about it?
A lot of people don’t understand that the bridge is supposed to rock, which understandably freaks them out. I’ll admit that this feature isn’t my favorite element of the design, but it really does work, but not perfectly. The bridge doesn’t always return to its zero position, but this is a problem just about every trem system on the market has, and if we lived in a perfect world it would be enough.
If the rocking bridge bothers you and makes your intonation spotty, a lot of us will wrap the bridge with foil tape, which locks it into place in its thimbles. The vibrato still works well like this, but again, it’s not a total solution. This is yet another issue addressed by the Mastery Bridge, with its larger diameter posts that fit snugly into the bridge thimbles.
A Word About String Gauge
When Leo was rolled out the Jazzmaster, he intended to market the guitar to Jazz players, hence the addition of the darker preset rhythm circuit. Because of this, the guitar was also designed with heavy-gauge flat-wound strings in mind. Back in the day, light guitar strings weren’t readily available, especially when it came to flats. That’s why you so often hear older guitarists talking about using a banjo string on the high E and moving the rest of the set over one string! Jazz players were often using sets as heavy as .014”, and .011” sets were considered pretty measly by comparison.
When the Jazzmaster rolled out, the idea was that these jazzers would be using at least .012” flat sets on the guitar, which have much more tension than today’s slinkier round-wound strings. Heavier strings equals greater tension, get it? If you ever try to put flat-wound 12s on a Jazzmaster, they usually won’t go anywhere.
When you want to use light strings on a Jazzmaster or Jaguar, you’re going to have to compensate somehow. You’ll need to increase the break angle and adjust the bridge, but if you’re going lighter than .011” sets you might also consider swapping out the bridge for those found on Fender Mustang guitars, which have a single, deep groove for each string. Or, you could go for the ultimate upgrade, the Mastery Bridge, but I’d make that recommendation to anyone regardless of string gauge. The Mastery Bridge is hands-down the best upgrade you can make to your Fender Offset guitar in my opinion. With it, you may still need a bit of a neck angle adjustment, but your strings will definitely stay on their saddles.
Next time, we’ll take a brief look behind the bridge and how to work with the vibrato unit for greater tuning stability and control. Wanna go wild and return to pitch? We’ve got you covered!

Mastery on a ’58. Yessir.
*CAUTION: Never, ever use the red Loc-Tite on guitar parts unless you want them permanently frozen in place. The blue variety is meant for a non-permanent bond, allowing the user to make adjustments down the line. I think they’ve just come out with a green formula as well that’s not as strong, but I haven’t used it. Also, that stuff dries clear, so don’t freak out when you put blue goop all over your shiny new guitar. It’s cool. Simmer down.
