
 Over the summer, I picked up this 1969 Gibson SG Standard husk, totally stripped and poorly refinished in natural. The neck was cracked, some wood at the bridge area was replaced and filled, the contours were sanded away and altered, and before the finish was applied it seems like the body was sanded with nothing greater than 120 grit. Super rough, really disappointing!
I paid about $400 for the wood, and decided that this would be a worthy candidate for total restoration. With all I’ve learned over the years (beginning in my dad’s woodshop as a kid – I was listening!) I felt as though I was finally able to tackle this kind of thing. I’ve been working on guitars for years now, and in the past few I’ve really focused on finishing techniques, but on a much smaller scale; fill-ins and color matching are more my specialty, but I thought, ‘Hey, why not dive in? What’s the worst that could happen?’ At the very least, I might end up with a vintage guitar that I’d enjoy playing.
Although I discussed this project openly, I didn’t advertise it for sale or anything because, to be perfectly frank, I wasn’t entirely sure what I’d end up with. I trusted in my abilities and my aptitude for learning quickly and adjusting my process on the fly, but this was my first total refinish, so I wanted to make sure it was good before I went spouting off about how we offer full restorations as one of our many services.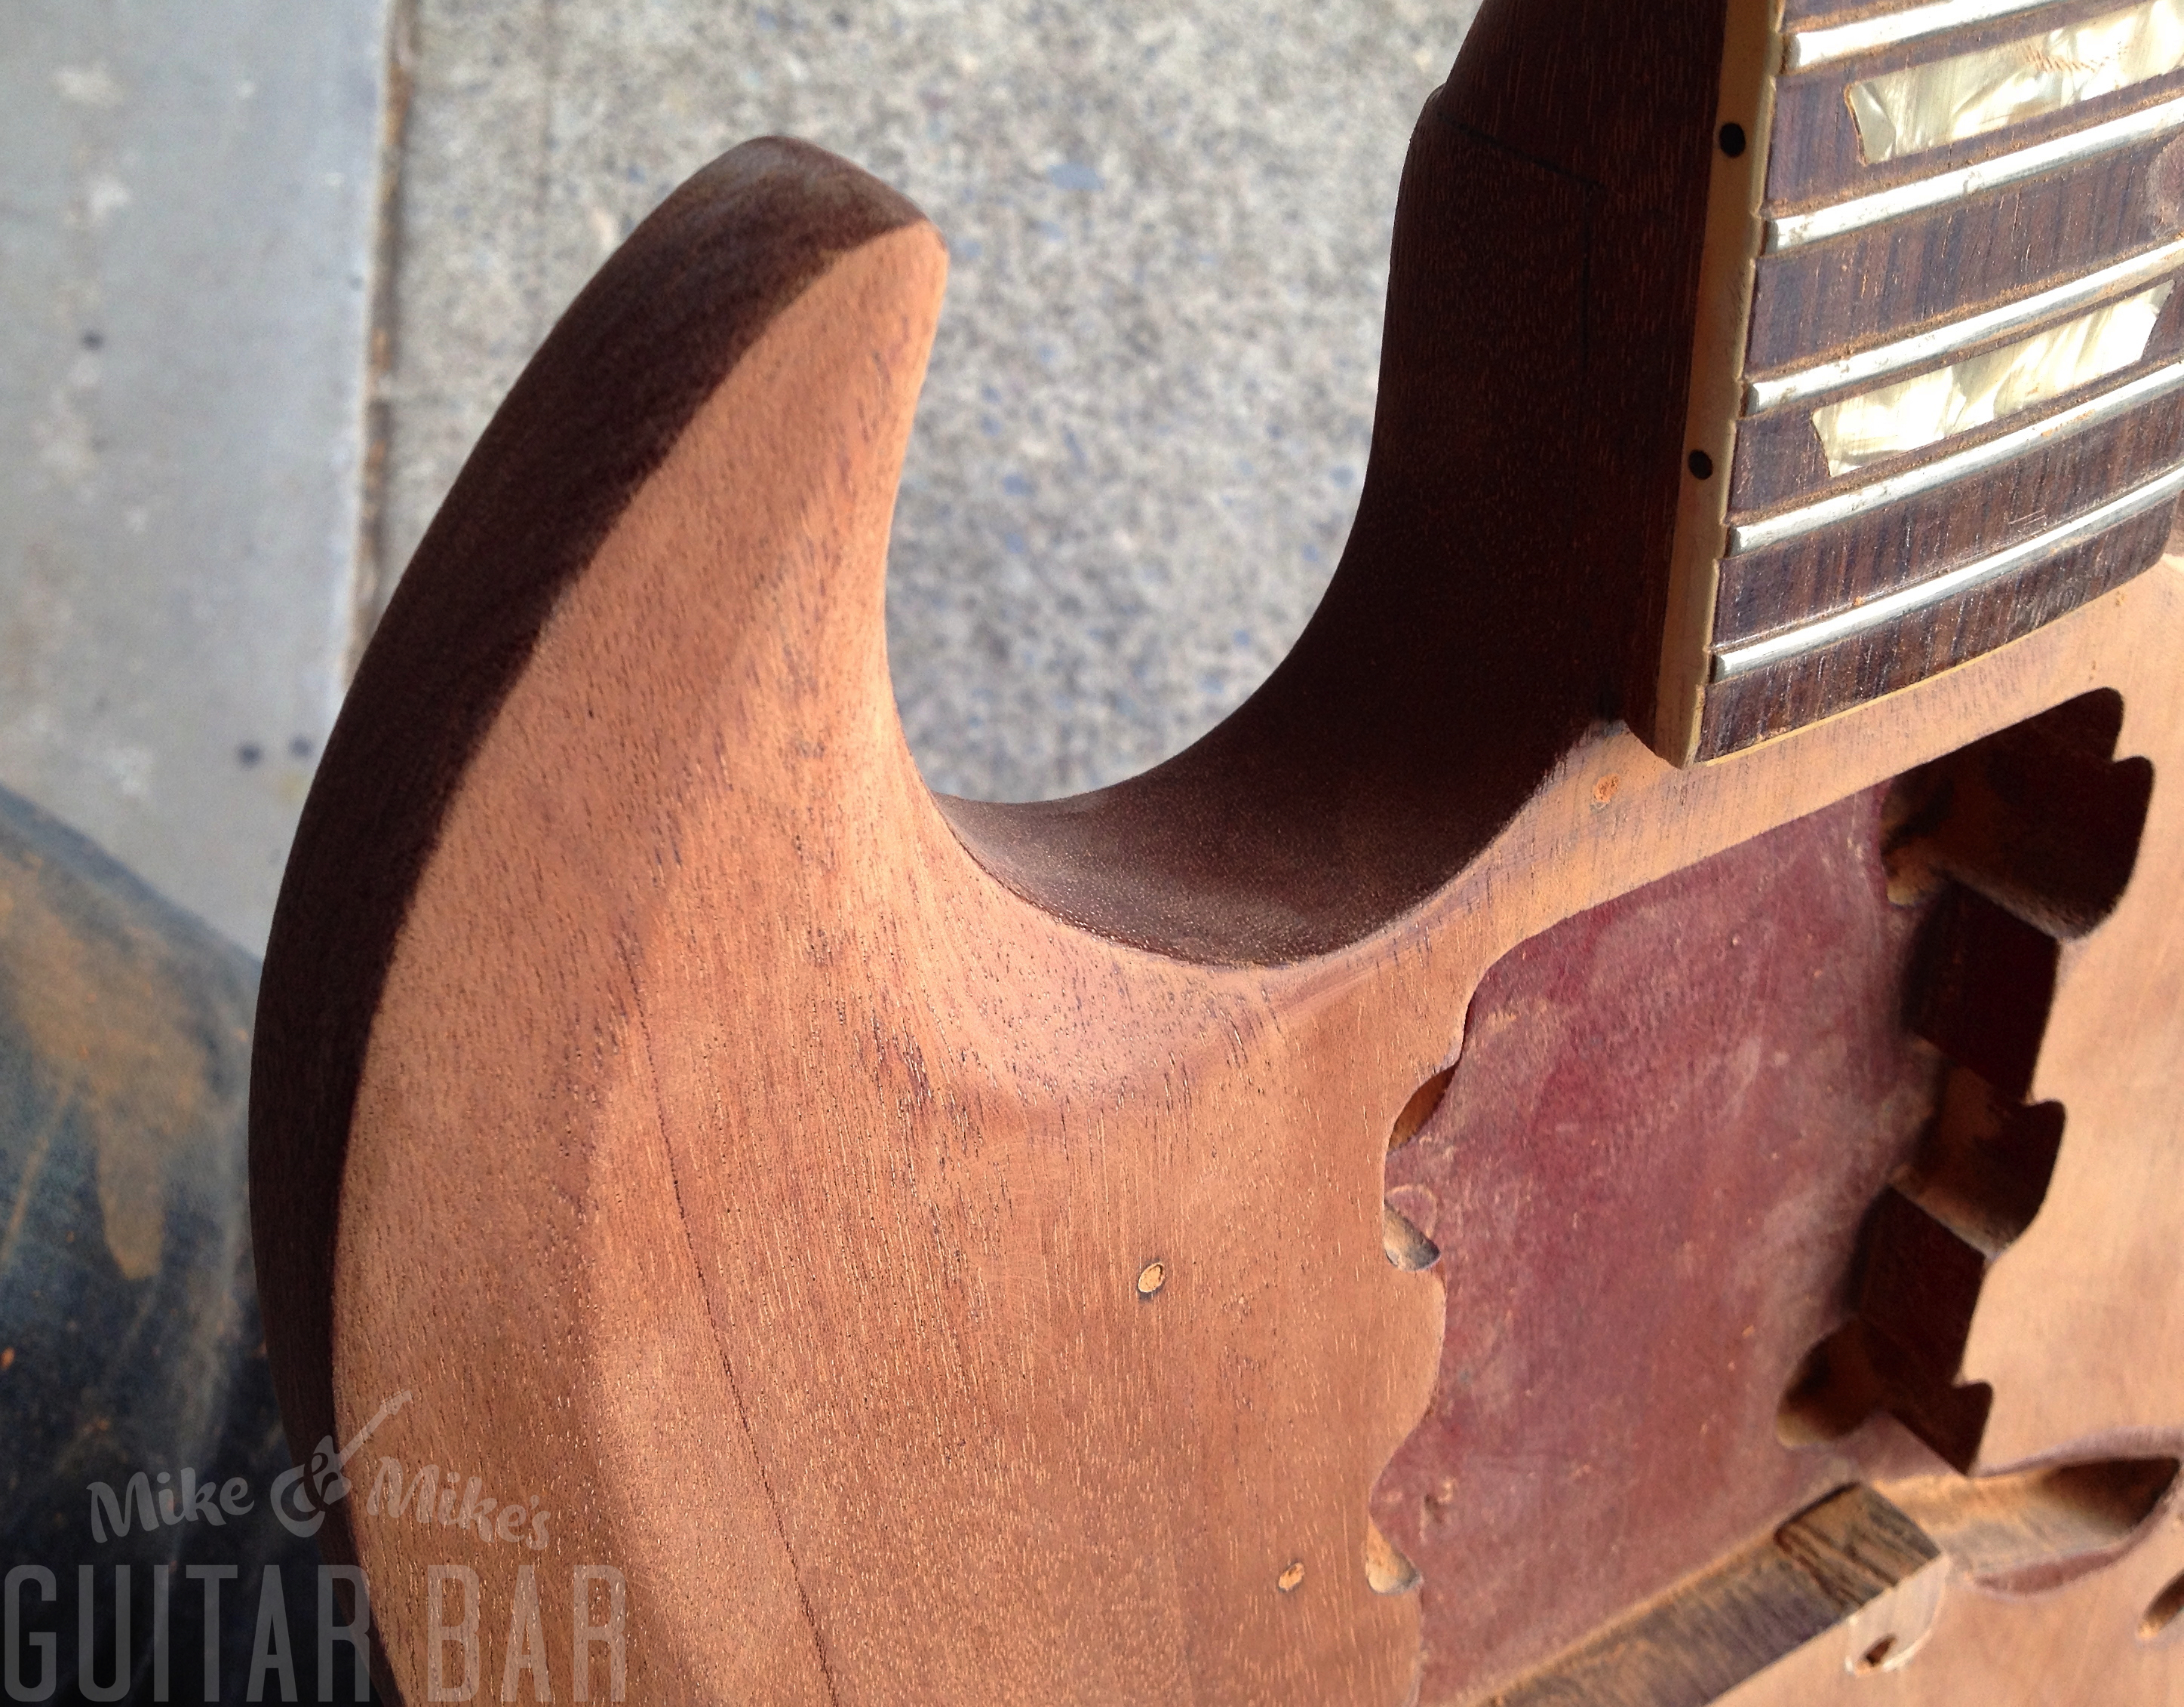 With all of the work that needed to be done, I absolutely had to strip the body again. I mean, I’d have to rework the carves on the body anyway, and the finish was really thick and the wood didn’t have the proper SG look. You see, one of the things that sets 1960s SGs apart from those made in the 1970s and beyond is those deep, gorgeous body bevels that make them look so much meaner and tougher than the others.
Given my obsessive-compulsive wiring, I set to work with sandpaper and a block with the mission of restoring the depth, sharpness and allure of the carves.

Soon, I had the body stripped and sanded from 120-320 while I reshaped absolutely everything, from the horns to the backside bevels, to the neck joint and even the slightly sharper late ’60s bottom carves behind the tailpiece. The hardest part was the interior curves of the neck, for which I studied some hi-res photos as Mike Ball’s original 1968 SG for reference.
After sanding to 400 grit, the next step was grain filler, which is really important to getting the right look to that old Gibson Cherry. See, I searched the internet like crazy for examples of good refinished SGs to pattern my work after, and I couldn’t find anything. I saw a ton of refins, but few that looked quite right. I took it as a challenge to really dig into what makes these guitars look the way they do, and ebony grain filler is a big, big part of that late ’60s look. (everyone else seemed to either skip this step entirely or use a neutral color of filler that didn’t show off the grain of the mahogany.)

Always up for a challenge, I decided that instead of purchasing proper spray equipment or building a spray booth, I was going to do this in true D.I.Y. fashion: I would only use only amateur finishing supplies to really get the feel for the pros and cons of what’s available to the first-time restorer. This meant rattle can finishes (I used Stew-Mac products entirely) and power tool buffing pads.
 I was a little concerned when I sprayed the first coat of cherry. I expected it to be bright as the first run was a tack coat, laying down some color so the next coat sticks. But it was RED, not cherry. When spraying, I usually spray a coat, then wait 30 minutes and spray another. Two hours later, I’ll do another and let it go overnight. After two bright red coats, I started to get really worried, but I put it out of my mind on a Saturday night and came back on Tuesday to discover that the color had darkened considerably. That made me happy.
After the red, I sprayed some amber laquer to gently age the finish. As you know, nitro finishes ‘fade’ over time , so the clear coat takes on a yellowish hue, which contributes to the softened look of older colors. This step really made all of the difference! The color just got more rich from then on, and after that, clear coats!
With some elbow grease and 1000-1500 grit wet sanding, as well as buffing on my wheel with various grades of compound, I ended up with a shiny finish far beyond what I expected.
Seriously, I still can’t believe that I did this with rattle cans and elbow grease! 
I sourced vintage parts all around (save for the tuners, electronics, Lollar imperial pickups and pickguard) and I couldn’t be happier with the results. It looks right, plays beautifully, and sounds freaking amazing.
Oh! And a note on the spot of wear on the horn: that’s fully intentional. I lightly aged this guitar, but the one rally cry against relic guitars that I hear more than any other is that the wear doesn’t have a story. Well, this one does: when I had all of the parts collected, I took a long, hard look at the guitar and thought about what fictional character may have used it before I came along. So, the story with that wear is, the previous owner stashed his picks right between the guard and the body, and when you’re in the heat of a hot solo, you don’t have time to be careful. 
If you’re on Tumblr you may recognize this same guitar from the many, many happy photographs of DeeBeeUs, one of the kindest souls on the web. He owns this one now, and from what I can tell, he’s very, very happy with it. -MJA
